!!! This Lab is NOT complete yet as of 4/19/23, it’s being worked on as time permits, stay tuned !!!
Overview
Faults fall into two categories; service-direct or agent-based. Agent-based faults requires the installation of the Chaos Agent, unlike a service-direct fault. A CPU Pressure fault is an agent-based fault, so we will need to install the Chaos Agent Extenstion on the VM.
For more details on the Chaos Agent click here}
Step 1 - Create a Resource Group
-
Sign in to Azure portal
-
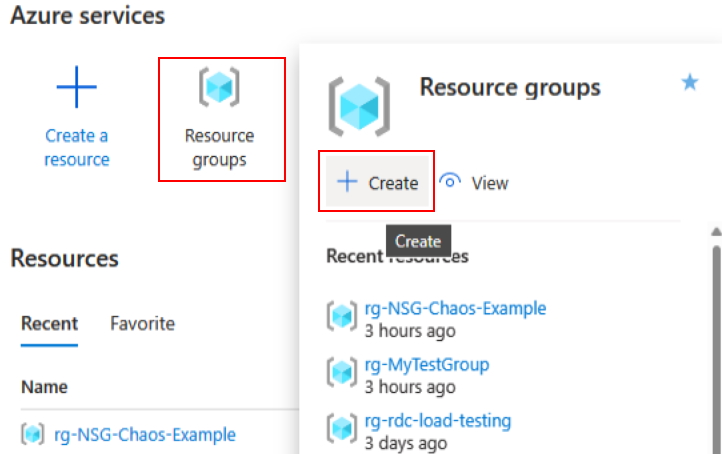
Select resource groups, then click create
 For the Resouce Group name, I used rg-CPU-Chaos-Lab3, use whatever name you prefer.
 -
Select subscription and enter values and finish creating the Resource Group and use rg-NSG-Chaos-Lab1 for the Resource Group name.

Step 2 - Create the VM
-
While in the Azure Portal navigate to Home > Create a resouce then Create a VM
-
Use the the resource group you created in Step 1.
- For the VM name enter “vm-cpu-exp” and keep everything else as simple as possible for the VM to save costs. Here are my suggestions, but you can use whatever you like:
Availability options = No infrastructure reduancy required Security type = Standard Image = Windows 10 Pro Size = Standard_B1ls - 1 vcpu, 0.5 GiB memory OS disk type = Standard SSD (locally-redundant storage) - Finsh creating the VM.
Step 2 - Create a Managed Identity
-
While in the Azure Portal, enter Managed Identities into the Search Bar then click on Manage Identities
-
Now, click on Create and populate the properties with the following details:
  Subscription = <Select your Subscription>
  Resource Group = <Select Resource Group created in Step 1>
  Region = <Select your Region, I am using East US>
  Name = vm-chaos-manaeddid
  Size = Standard_B1ls - 1 vcpu, 0.5 GiB memory
Now, finish up by clicking on Review + create
Important Note - The managed identity is required as it allows the experiement to communicate with the Chaos Agent on the VM.
Step 3 - Enable the Target & Capabilities
Now that we have the VM and Managed Identity created we can enable the target and capabilities for the VM.
- Open Chaos Studio and and click on Targets
Step 4 - Create the Experiement
Step 5 - Run the Experiement
Step 6 - Monitor the CPU Pressure
Note: Technically, Main.bicep does not need to be passed any parameters, by default it will set values for the experimentPrefix and networkSeucruityGroupPrefix if you do not pass them.
-
As the Main.bicep is being deployed, you notice the status displays as /Running. When it has completed, it will render some JSON data to the screen. Make note of the property provisioningState if it was successful it will have a value of Succeded.
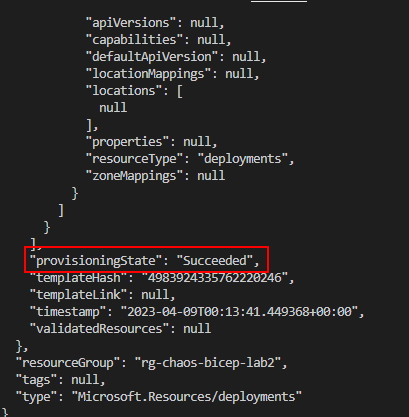
-
Now, navigate to the Experiments in Chaos Studio and search for an experiement with a prefix of exp-bicep-lab2 and click Start to run the experiment. Did the experiement run or did it fail?
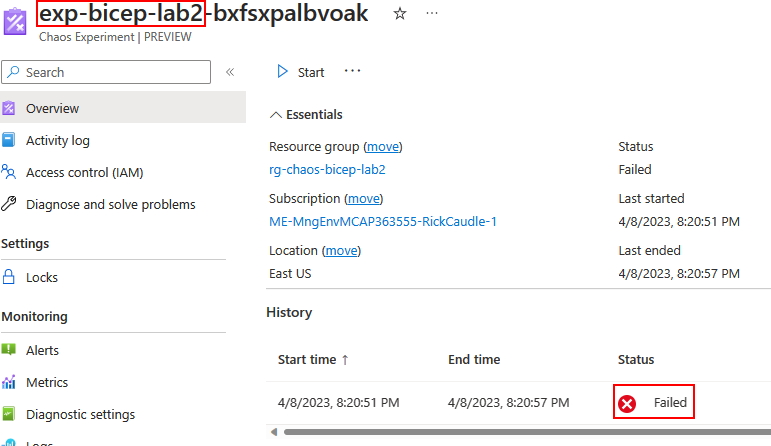
Take a few minutes to try and figure out how to fix the issue and what you might change in the Bicep to fix it. Hint: Marksman often do what to maintain their accuracy?