Deploy an Experiment using Bicep
In this lab we will quickly deploy the same type of NSG Experment we did in the NSG Lab using one Azure command. After we deploy the experiement we will take a look at the Bicep files and dive into those.
The goal of this lab is to demostrate how easy it is to use Bicep to create an experiement that sets up everything for us, including the Network Contributor role assignment.
Install VS Code and clone my Azure-Chaos-Studio Repo
-
Download and install VS Code by clicking here
-
Download and install Git by clicking here
-
Install the Azure CLI Tool extension in VS Code.
-
Install the Bicep extension in VS Code
-
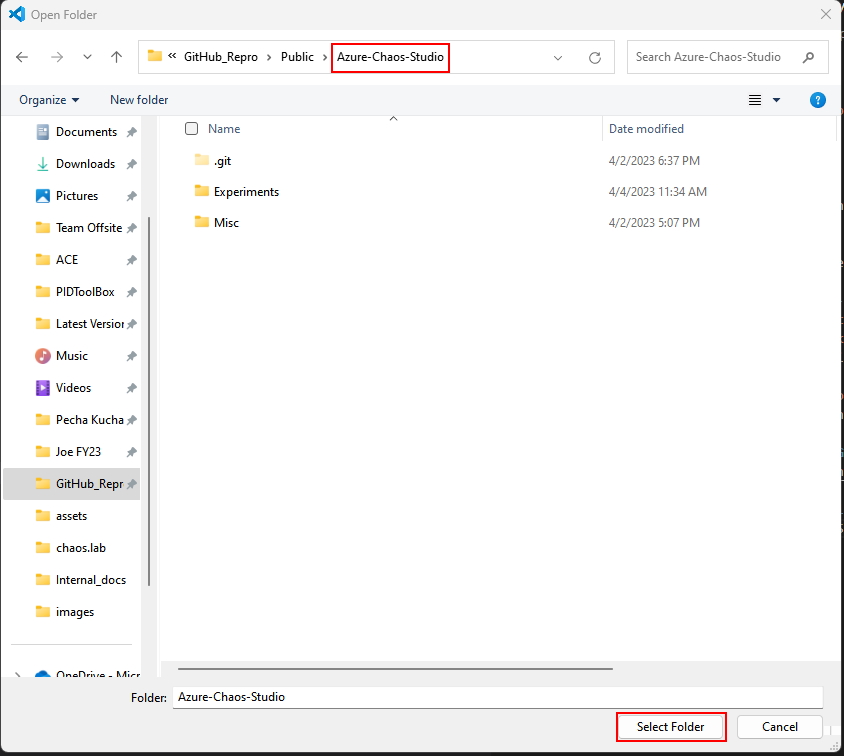
Navigate to my Azure-Chaos-Studio repo and copy the URL so you can clone the repo in VS Code. (Techncially, you can just copy the Bicep files to a local directory.)
-
Clone the repo in VS Code so you have a local copy on your computer.
If you are new to VS Code and GitHub and cloning repos, read this guide on the Microsoft Learn website to get started.
Let’s deploy the Experiment now using the Bicep files
-
Open the local repo folder for Azure-Chaos-Studio from VS Code.
- Open a terminal window in VS Code and change into the following directory on your computer:
PS C:\Users\<YOUR USER ID>\<CLONE_DIRECTORY>Azure-Chaos-Studio\Experiments\NSG Faults\BICEPcls> - Log in to your Azure account by running the following command:
az login - Create a new Resource Group by running the following command:
az group create --location eastus --resource-group rg-chaos-bicep-lab2 - Deploy the experiment by running the following command:
az deployment group create --resource-group rg-chaos-bicep-lab2 --template-file main.bicep --parameters experimentPrefix=exp-bicep-lab2- networkSecurityGroupPrefix=nsg-bicep-lab2-Note: Technically, Main.bicep does not need to be passed any parameters, by default it will set values for the experimentPrefix and networkSeucruityGroupPrefix if you do not pass them.
-
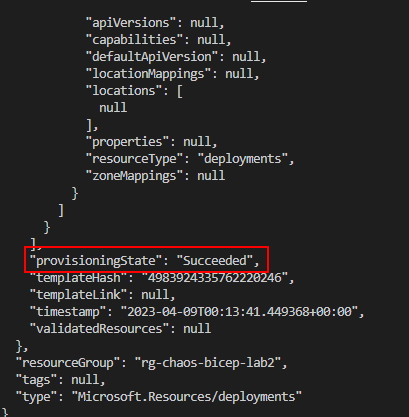
As the Main.bicep is being deployed, you notice the status displays as /Running. When it has completed, it will render some JSON data to the screen. Make note of the property provisioningState if it was successful it will have a value of Succeded.
- Now, navigate to the Experiments in Chaos Studio and search for an experiement with a prefix of exp-bicep-lab2 and click Start to run the experiment. Did the experiement run or did it fail?
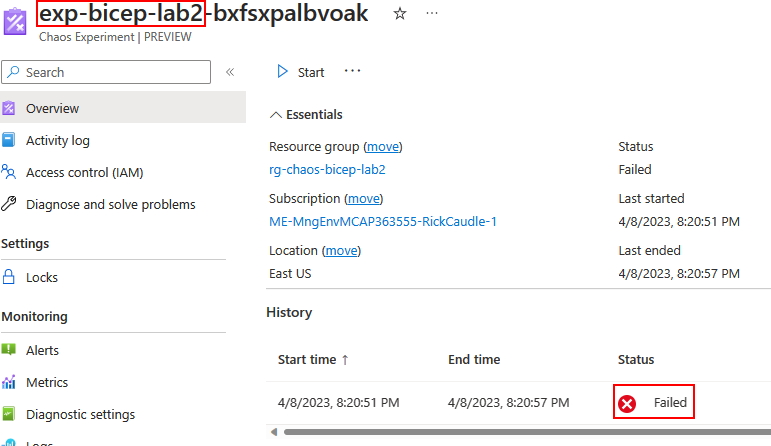
Take a few minutes to try and figure out how to fix the issue and what you might change in the Bicep to fix it. Hint: Marksman often do what to maintain their accuracy?